Introduction to VSC: Visual Studio Code
Maybe you don’t know VSC? Don’t panic, team Bichon will introduce you to him.
Visual Studio Code is a free, extensible, open source code editor developed by Microsoft for Windows, Linux and macOS.
This is an excellent alternative to JetBrains IDEs, and to the Eclipse IDE.
If you haven’t tried it yet, I invite you to download it, it will be useful for the rest of this tutorial.
Enable debugging on VSC for your PHP project
Install the necessary VSC extensions
If you are installing VSC for the first time then you will have to install the following extensions.
3 required extensions:
- Docker
- Remote – Containers
- PHP debug
And 3 optional extensions:
- PHP extension pack
- PHP IntelliSense
- PHP-Autocomplete
To install extensions you have to go through the menu in the left bar.
You will also notice that there is a small search form allowing you to apply a search filter.
Attachez votre Visual Studio Code au conteneur docker
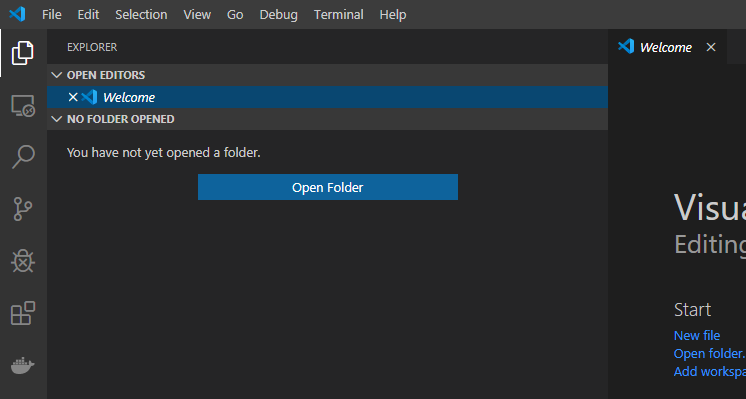
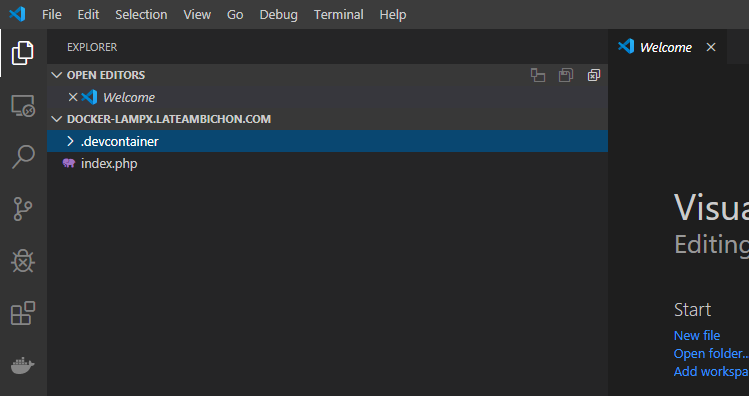
Open the folder containing the source code of your project:
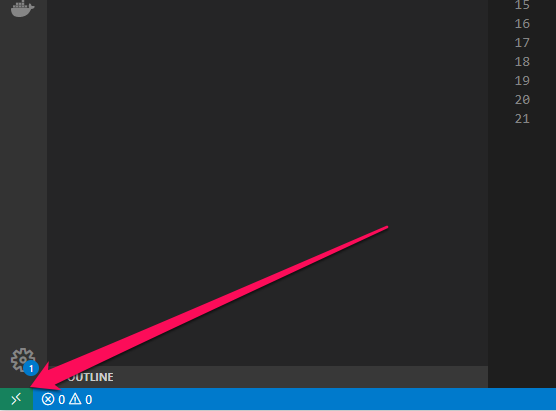
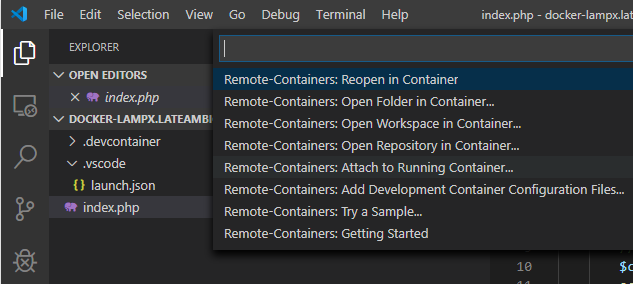
Then, click on the green area at the bottom left of the editor (that small green area is available because you have previously installed the Remote – Containers extension in your VSC):
A drop-down menu opens, click on “Remote-Containers: Attach to Running Container…”
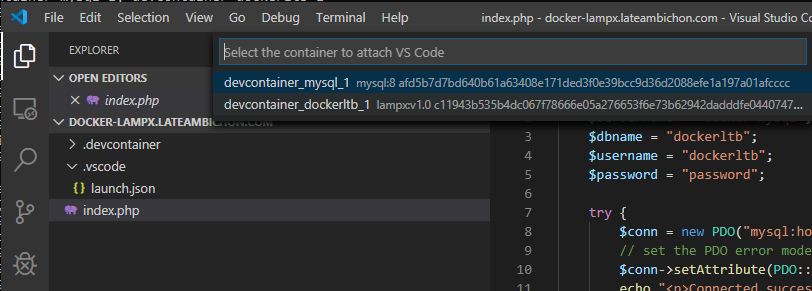
Then select the container devcontainer_dockerltb_1:
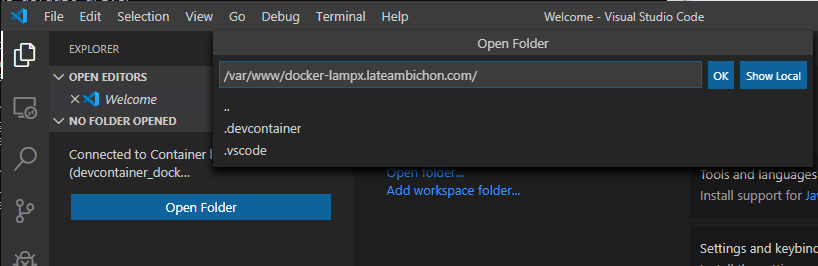
A new Visual Studio Code will open, you can close the previous window. In this new window you will click again on “Open Folder” and select the folder of the container that “maps” the source of your project present on your PC, that is the folder /var/www/docker-lampx.lateambichon.com/
Enable the debug
In the vertical menu on the left you can see the “bug” icon.
When you click on this menu you get:
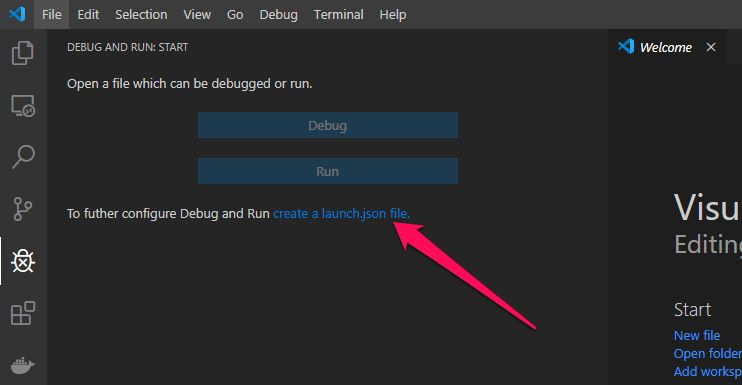
Click on the link “create a launch.json file” (a drop-down menu will open, select Docker – debug in container) and a launch.json tab opens:
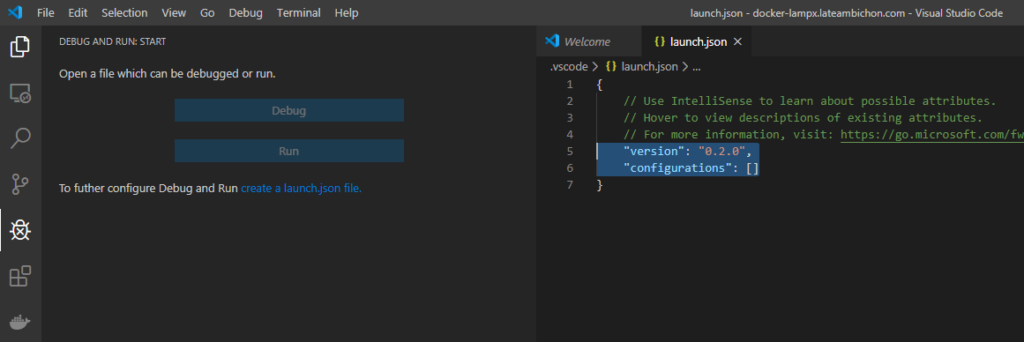
Replace the content of the file launch.json by this one:
{
    // Use IntelliSense to learn about possible attributes.
    // Hover to view descriptions of existing attributes.
    // For more information, visit: https://go.microsoft.com/fwlink/?linkid=830387
    "version": "0.2.0",
    "configurations": [
        {
            "name": "Listen for XDebug",
            "type": "php",
            "request": "launch",
            "port": 9000
        },
        {
            "name": "Launch currently open script",
            "type": "php",
            "request": "launch",
            "program": "${file}",
            "cwd": "${fileDirname}",
            "port": 9000
        }
    ]
}
Save the file.
A debug button will appear:
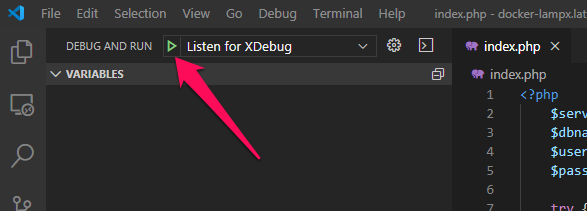
Click on the green arrow to start the debug:
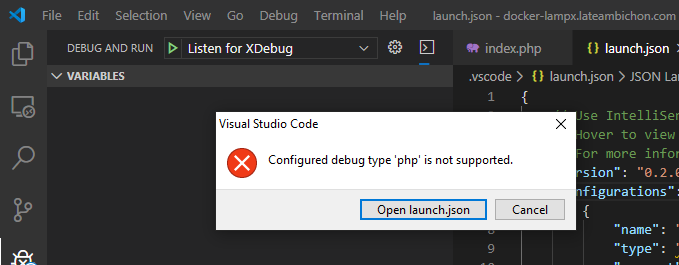
Oh no! There is an error. Hmm…To get rid of this error click on the left menu “Extensions” (icon that looks like a tetris, or Ctrl+Shift+X)
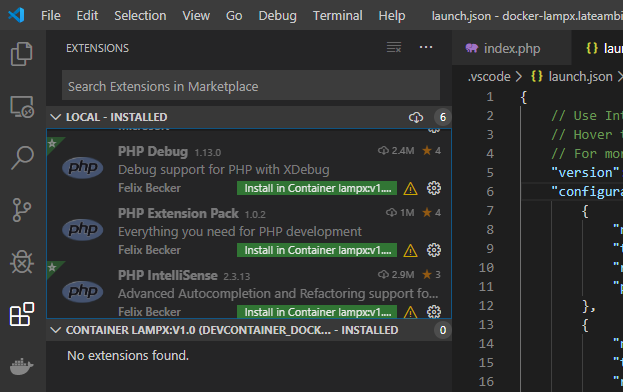
Install the PHP Debug (from Felix Becker) extension by clicking on the green button “Install in Container lampx:v1.0”.
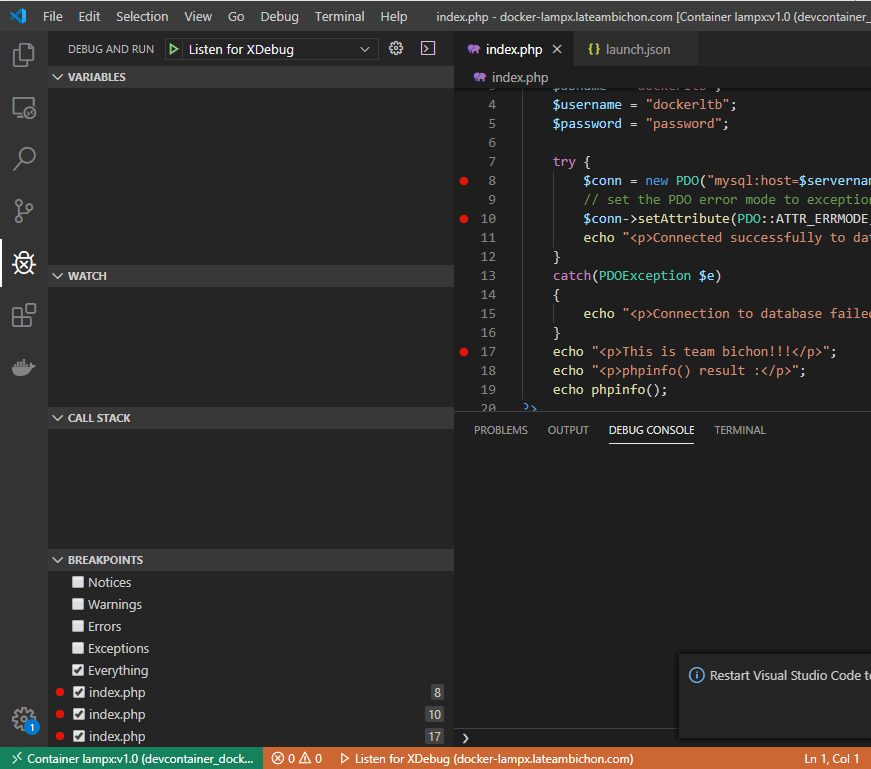
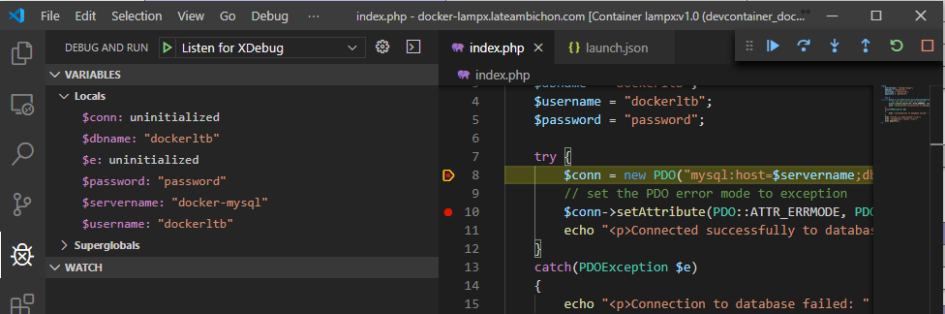
We can now set breakpoints on our index.php page by clicking in the margin of the source code (a small red dot is displayed).
You can try to start the debug again:
This time there’s no error.
Go back to your internet browser, and do a refresh (F5) of the url http://localhost:7080/ and you will see a notification of your VSC listening in debug mode and when you go to your VSC you can see that the execution is paused on a breakpoint.
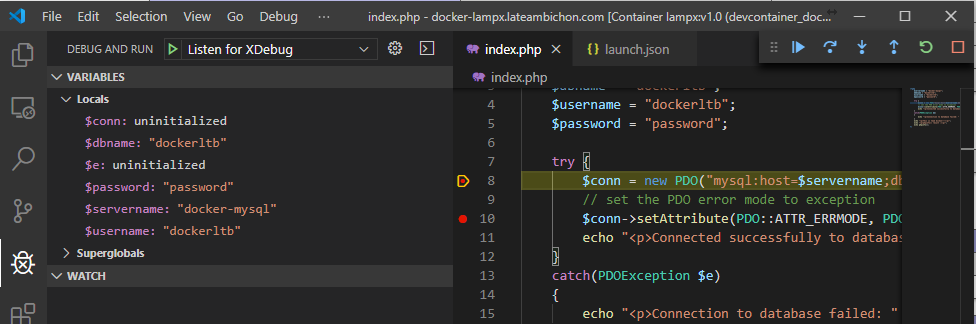
You can notice that on the left side of your screen are displayed the local and “super global” variables. In the WATCH field you can add expressions.
Leave a Reply